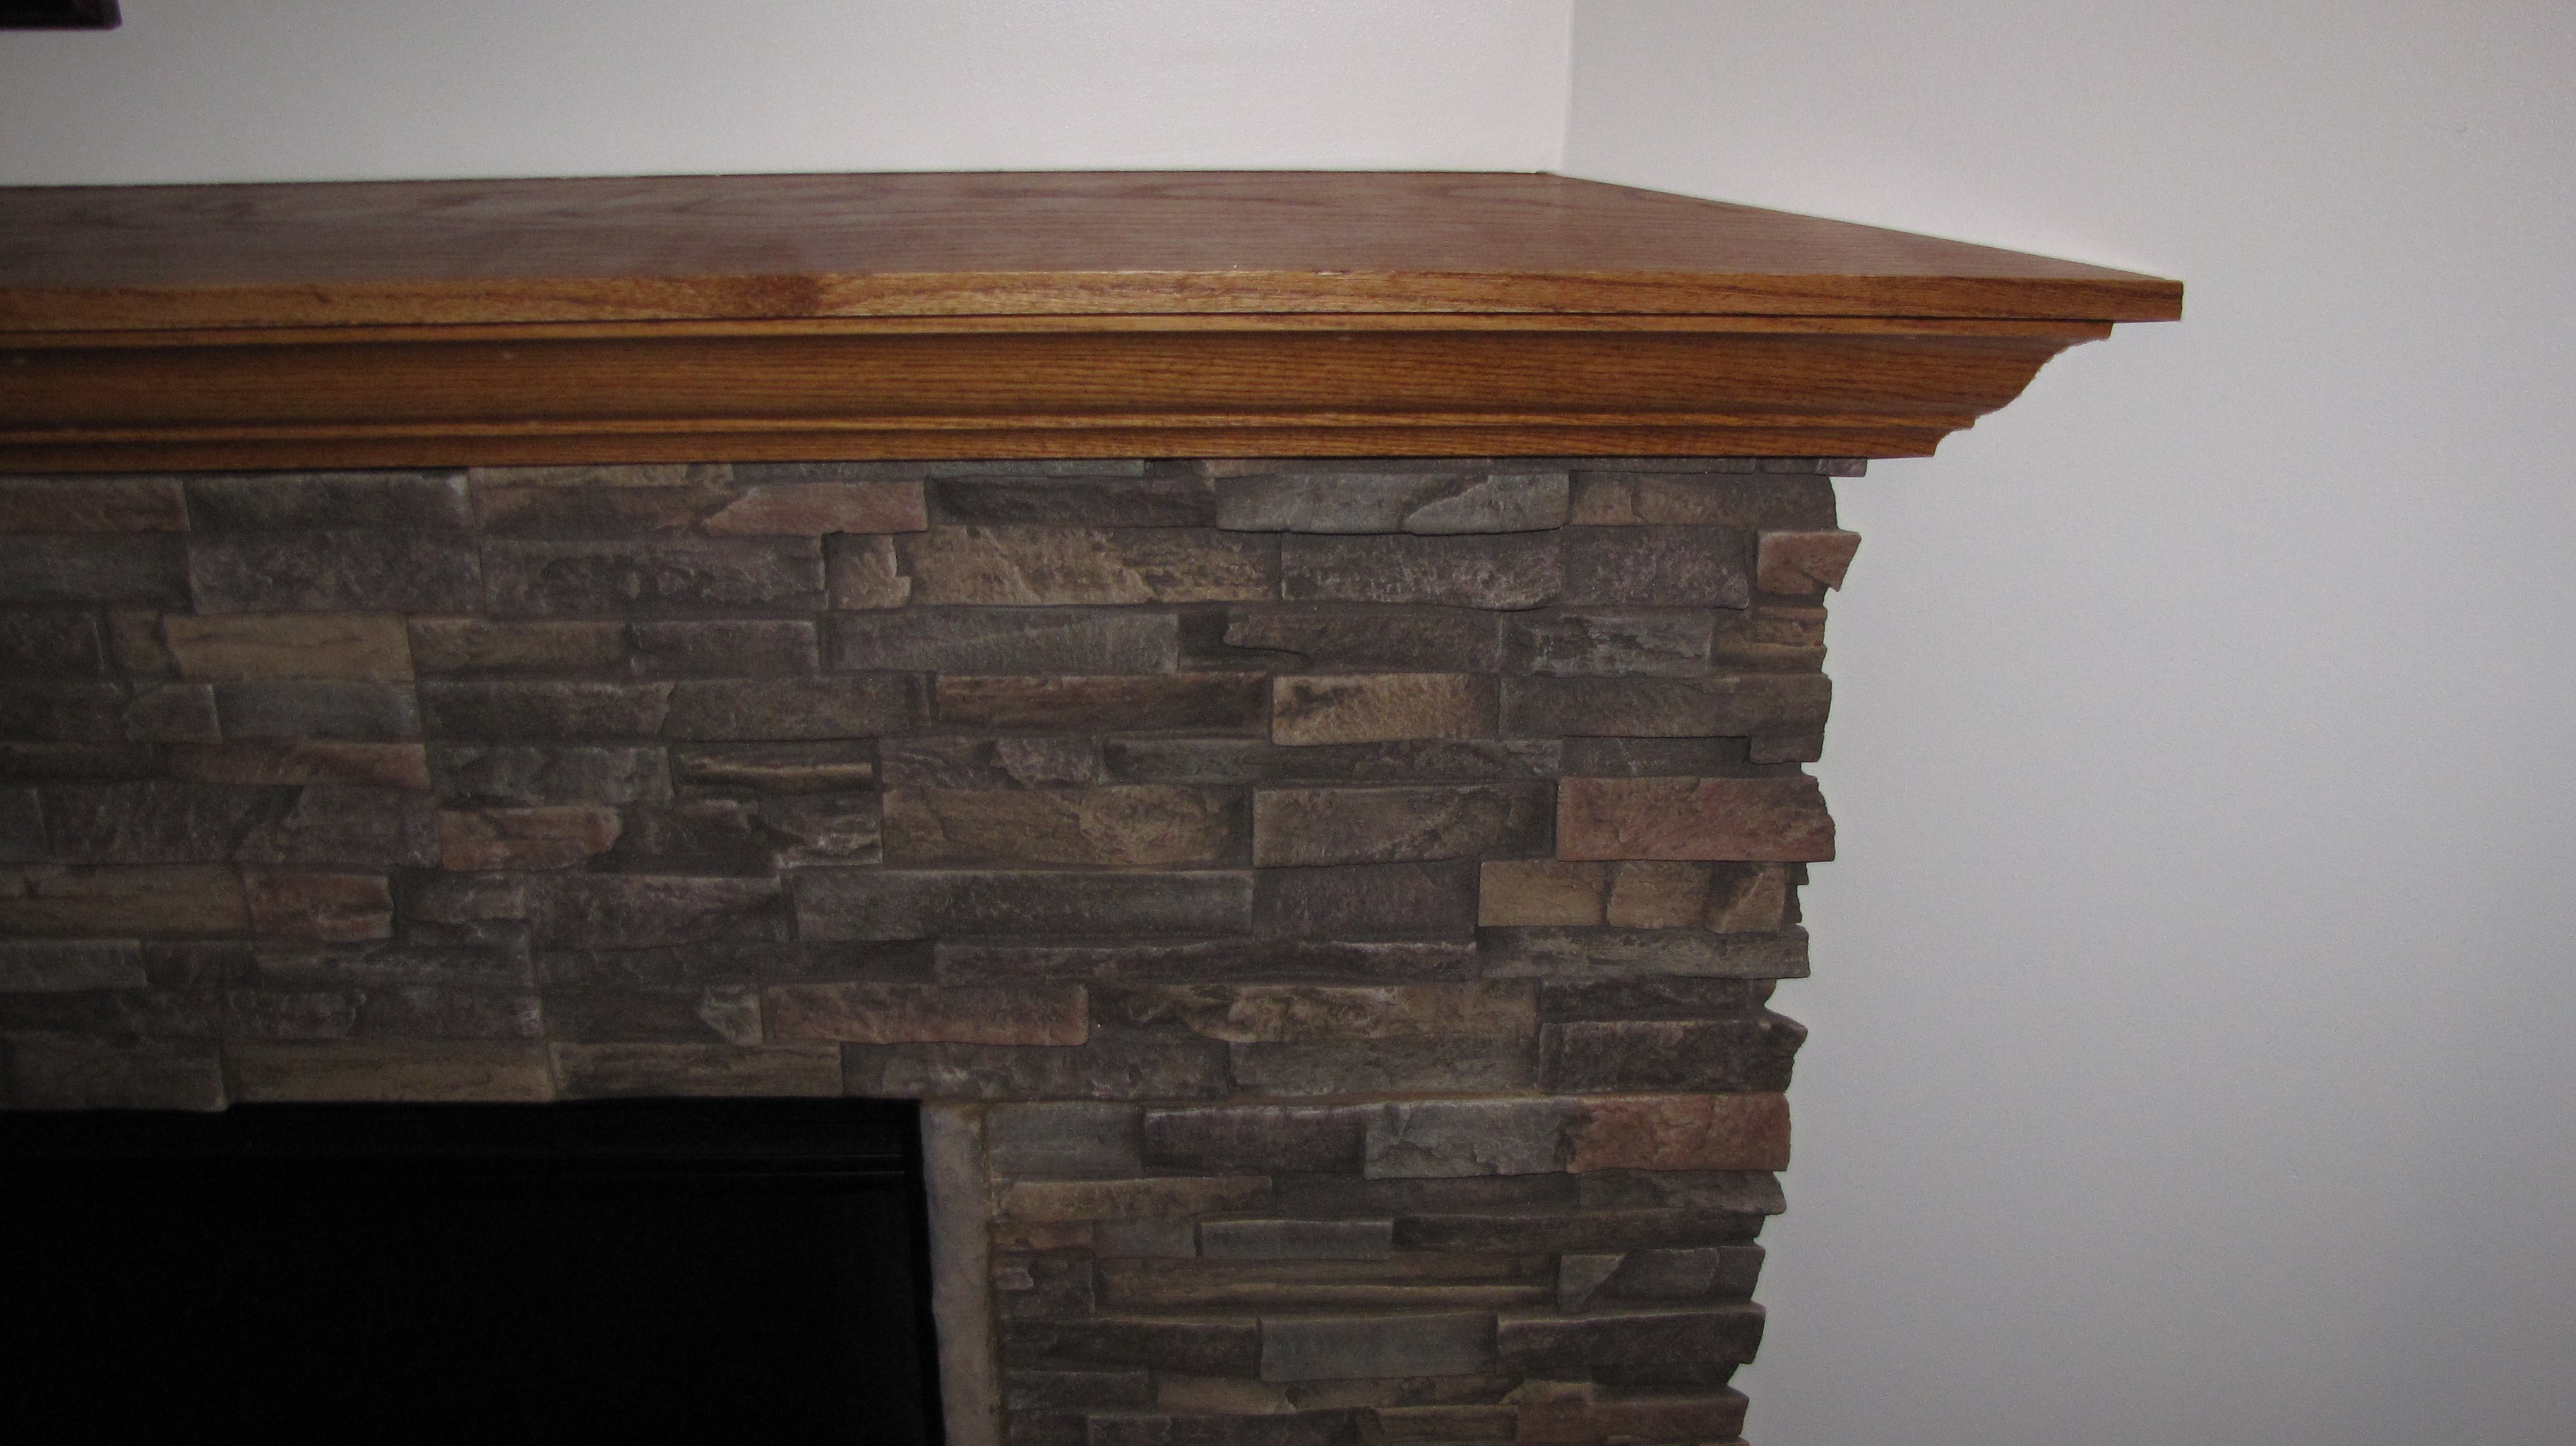
 The finished product looks amazing. Check out how the edges blend seamlessly with the wall.
Kerby C., from Nebraska built an amazing new fireplace facade using our panels.
Even better, he documented each step of the process - and shared those photos with us.
What makes Kerby's fireplace so remarkable is that he took a totally different route towards completing it than most home-decorators.
Traditionally people build out framework for home fixtures and install them first; only adding the panels once they're in place.
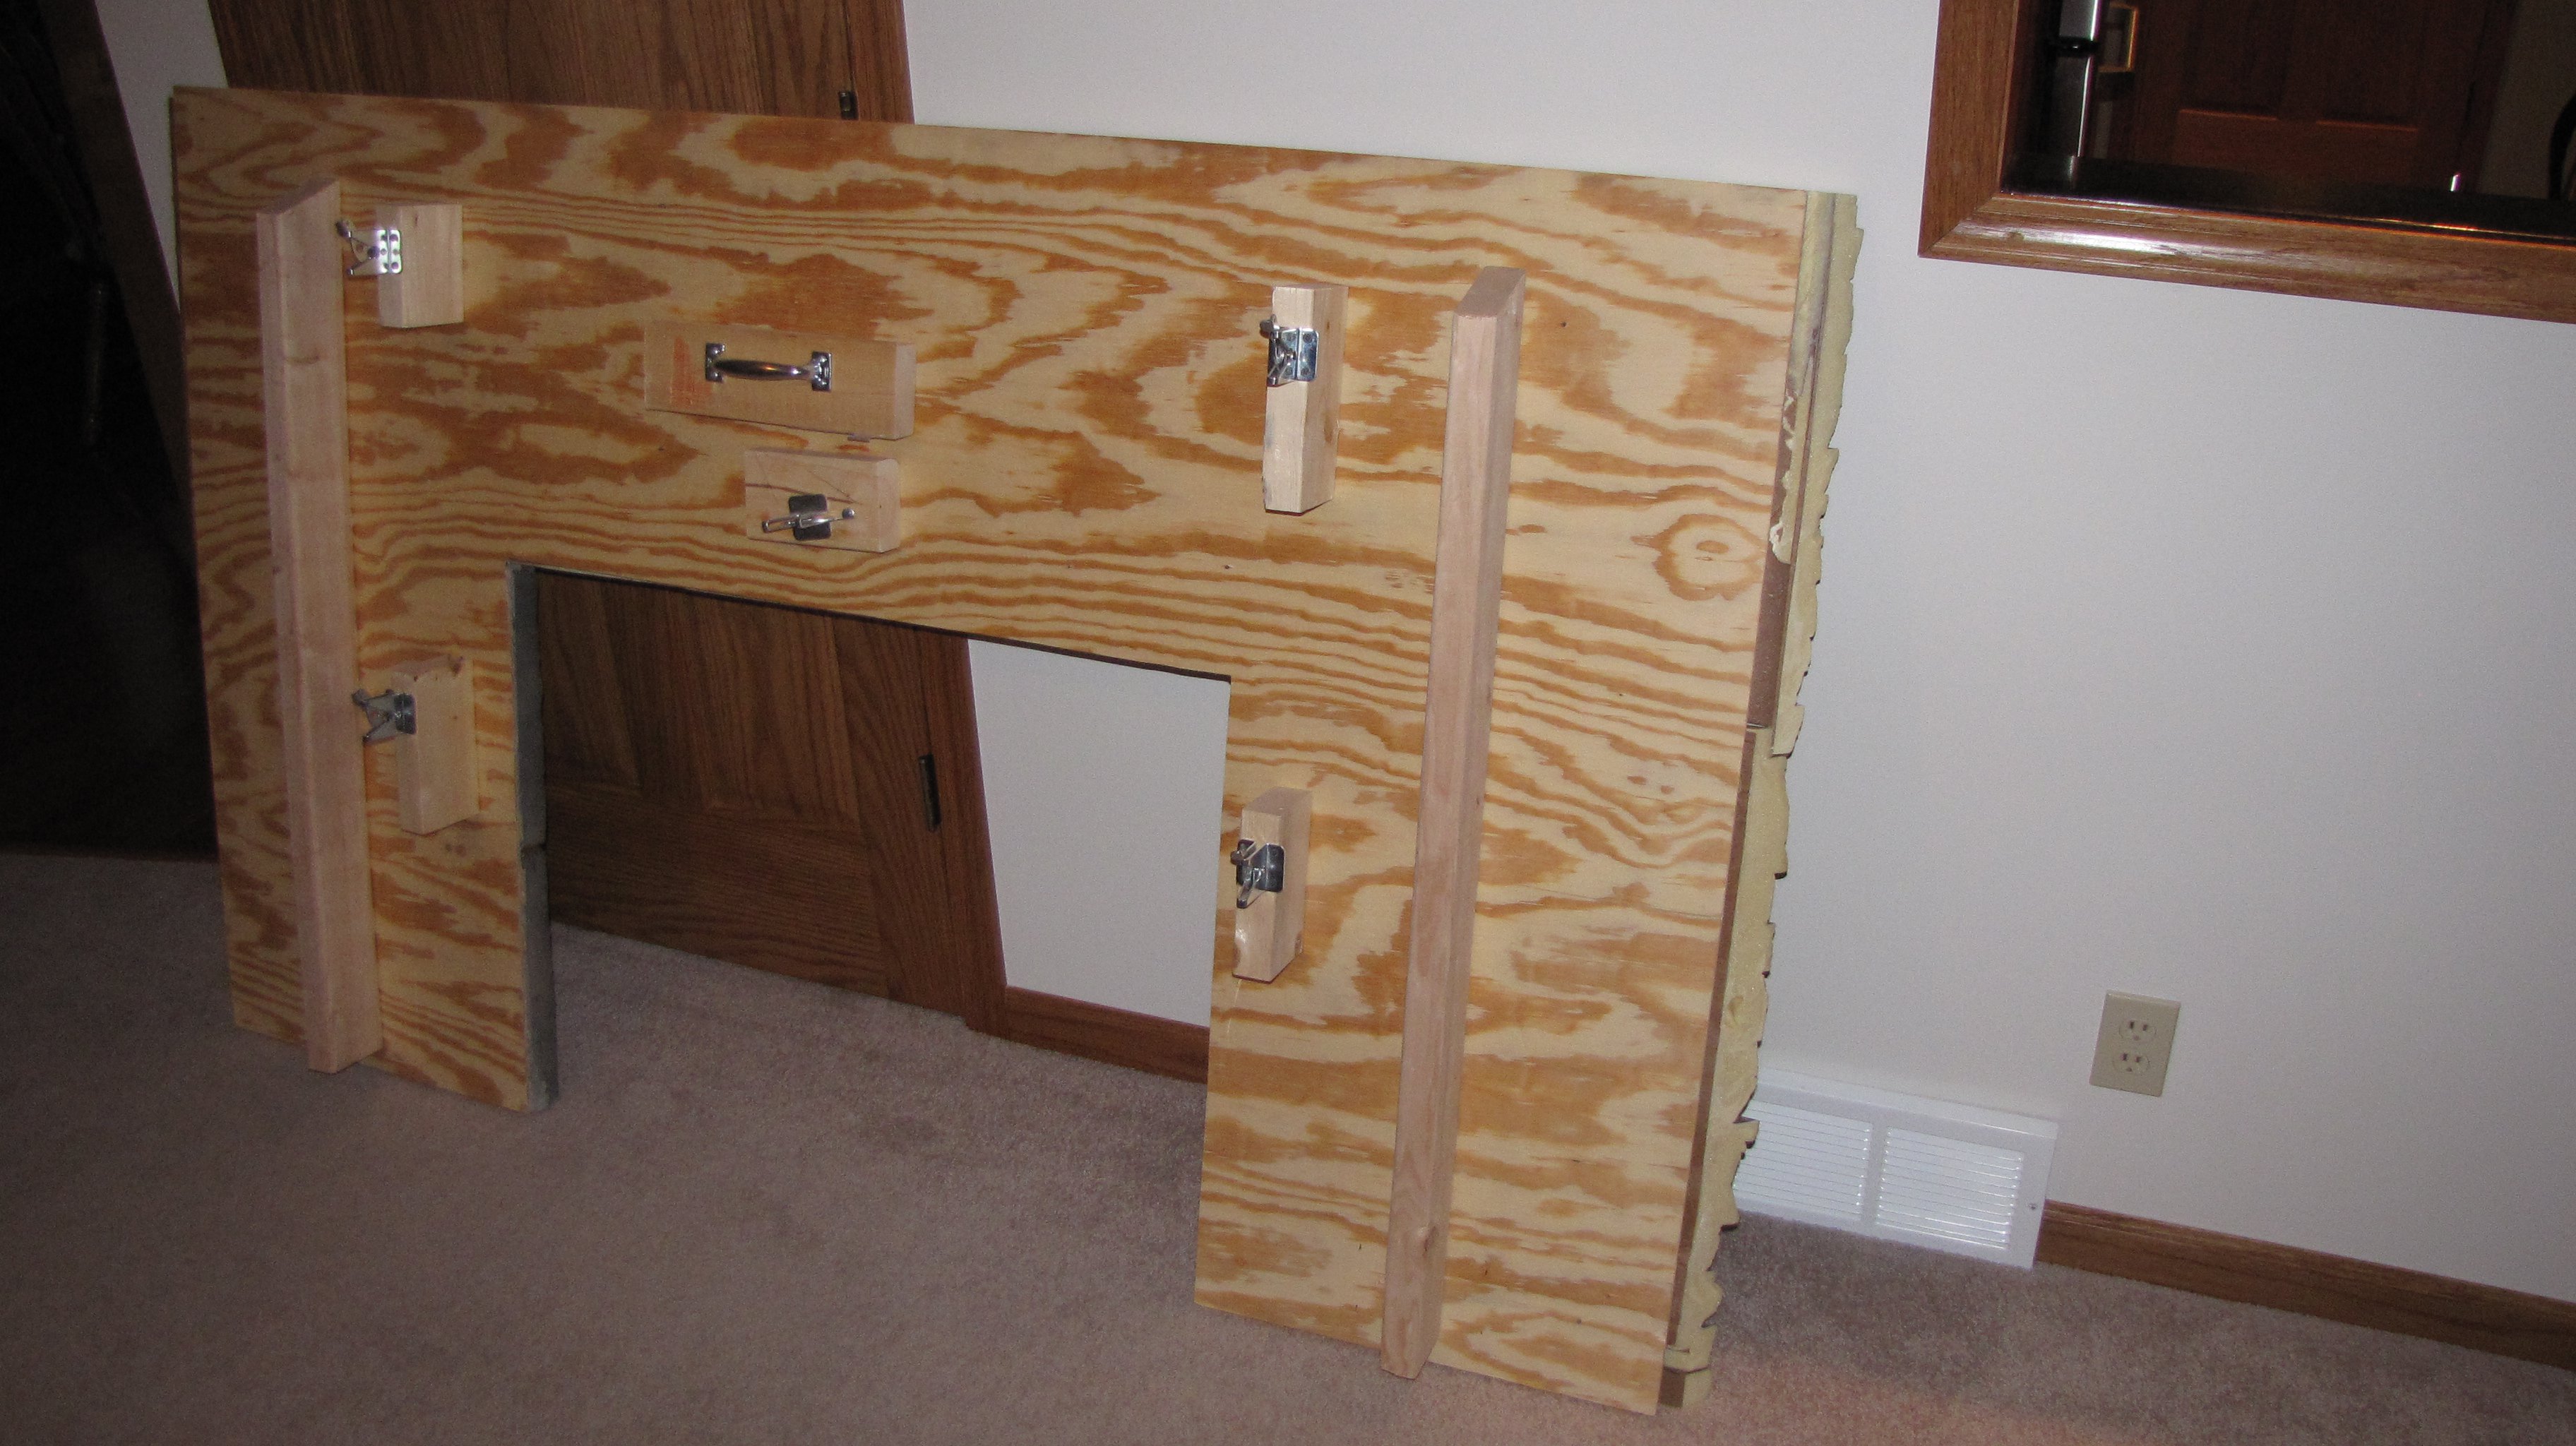 The face of the fireplace is made from wood; and can be removed and latched back into place.
Kerby, instead, built out his fireplace surround and added Dry Stack panels while it was still leaning against the wall - and then installed it in place like he was adding the final piece to a complex jigsaw.
The results, as you can tell from these photos, are impressive.
Some details worth noting: To get the perfect angle against the existing sheetrock wall, Kerby cut the edges of our panels at 45 degrees.
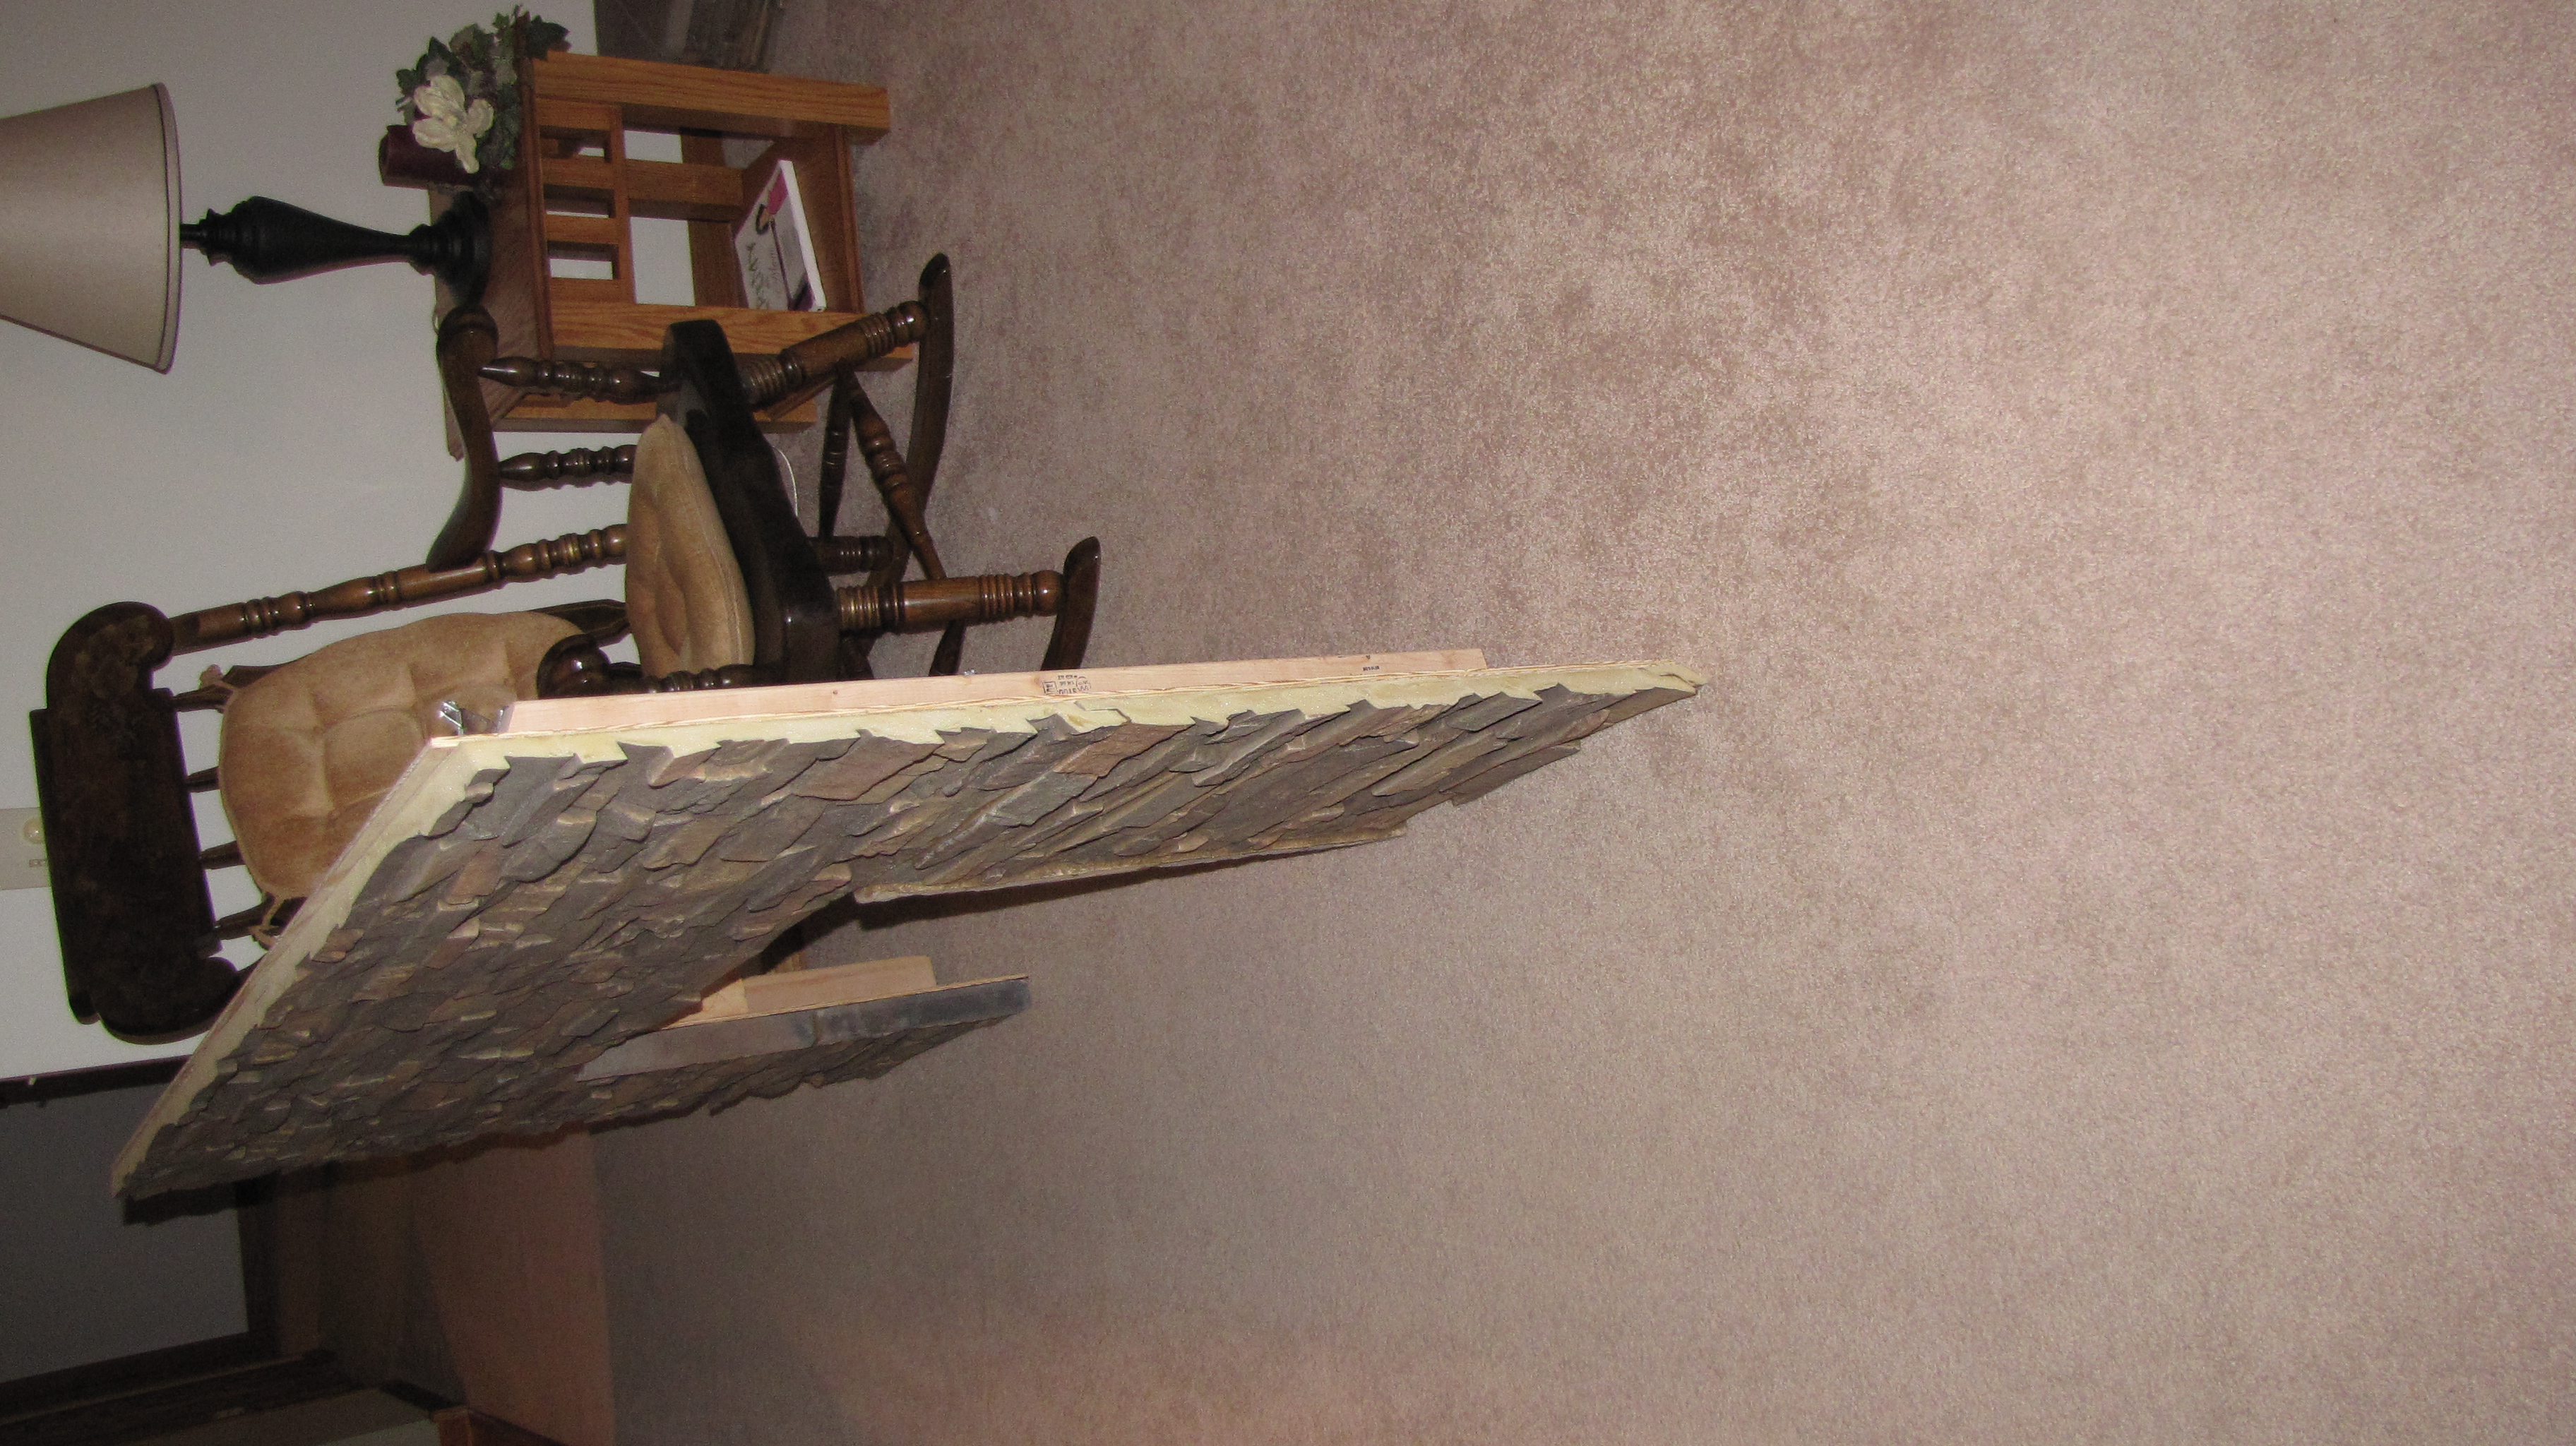 Here's a shot of the edge of the removable fireplace front; showing how Kerby cut the panels at a perfect 45 degree angle to fit flush with the wall.
They fit flush with the wall, but retain the jagged brickwork pattern; making it look like the bricks are emerging from the plaster of the wall, as it would be in a real stone fireplace.
Kerby's removable faceplate gives him easy access to the electric fireplace system. For a real fireplace or other areas that might be subjected to heat and flame, ordering fire-rated panels (an option on several of our product lines) is a smart move to keep your home and your family safe. You can check out a past fire-rated fireplace project here.
The whole thing looks great - practically indistinguishable from real stacked stone, but installed in a fraction of the time and at a fraction of the cost.
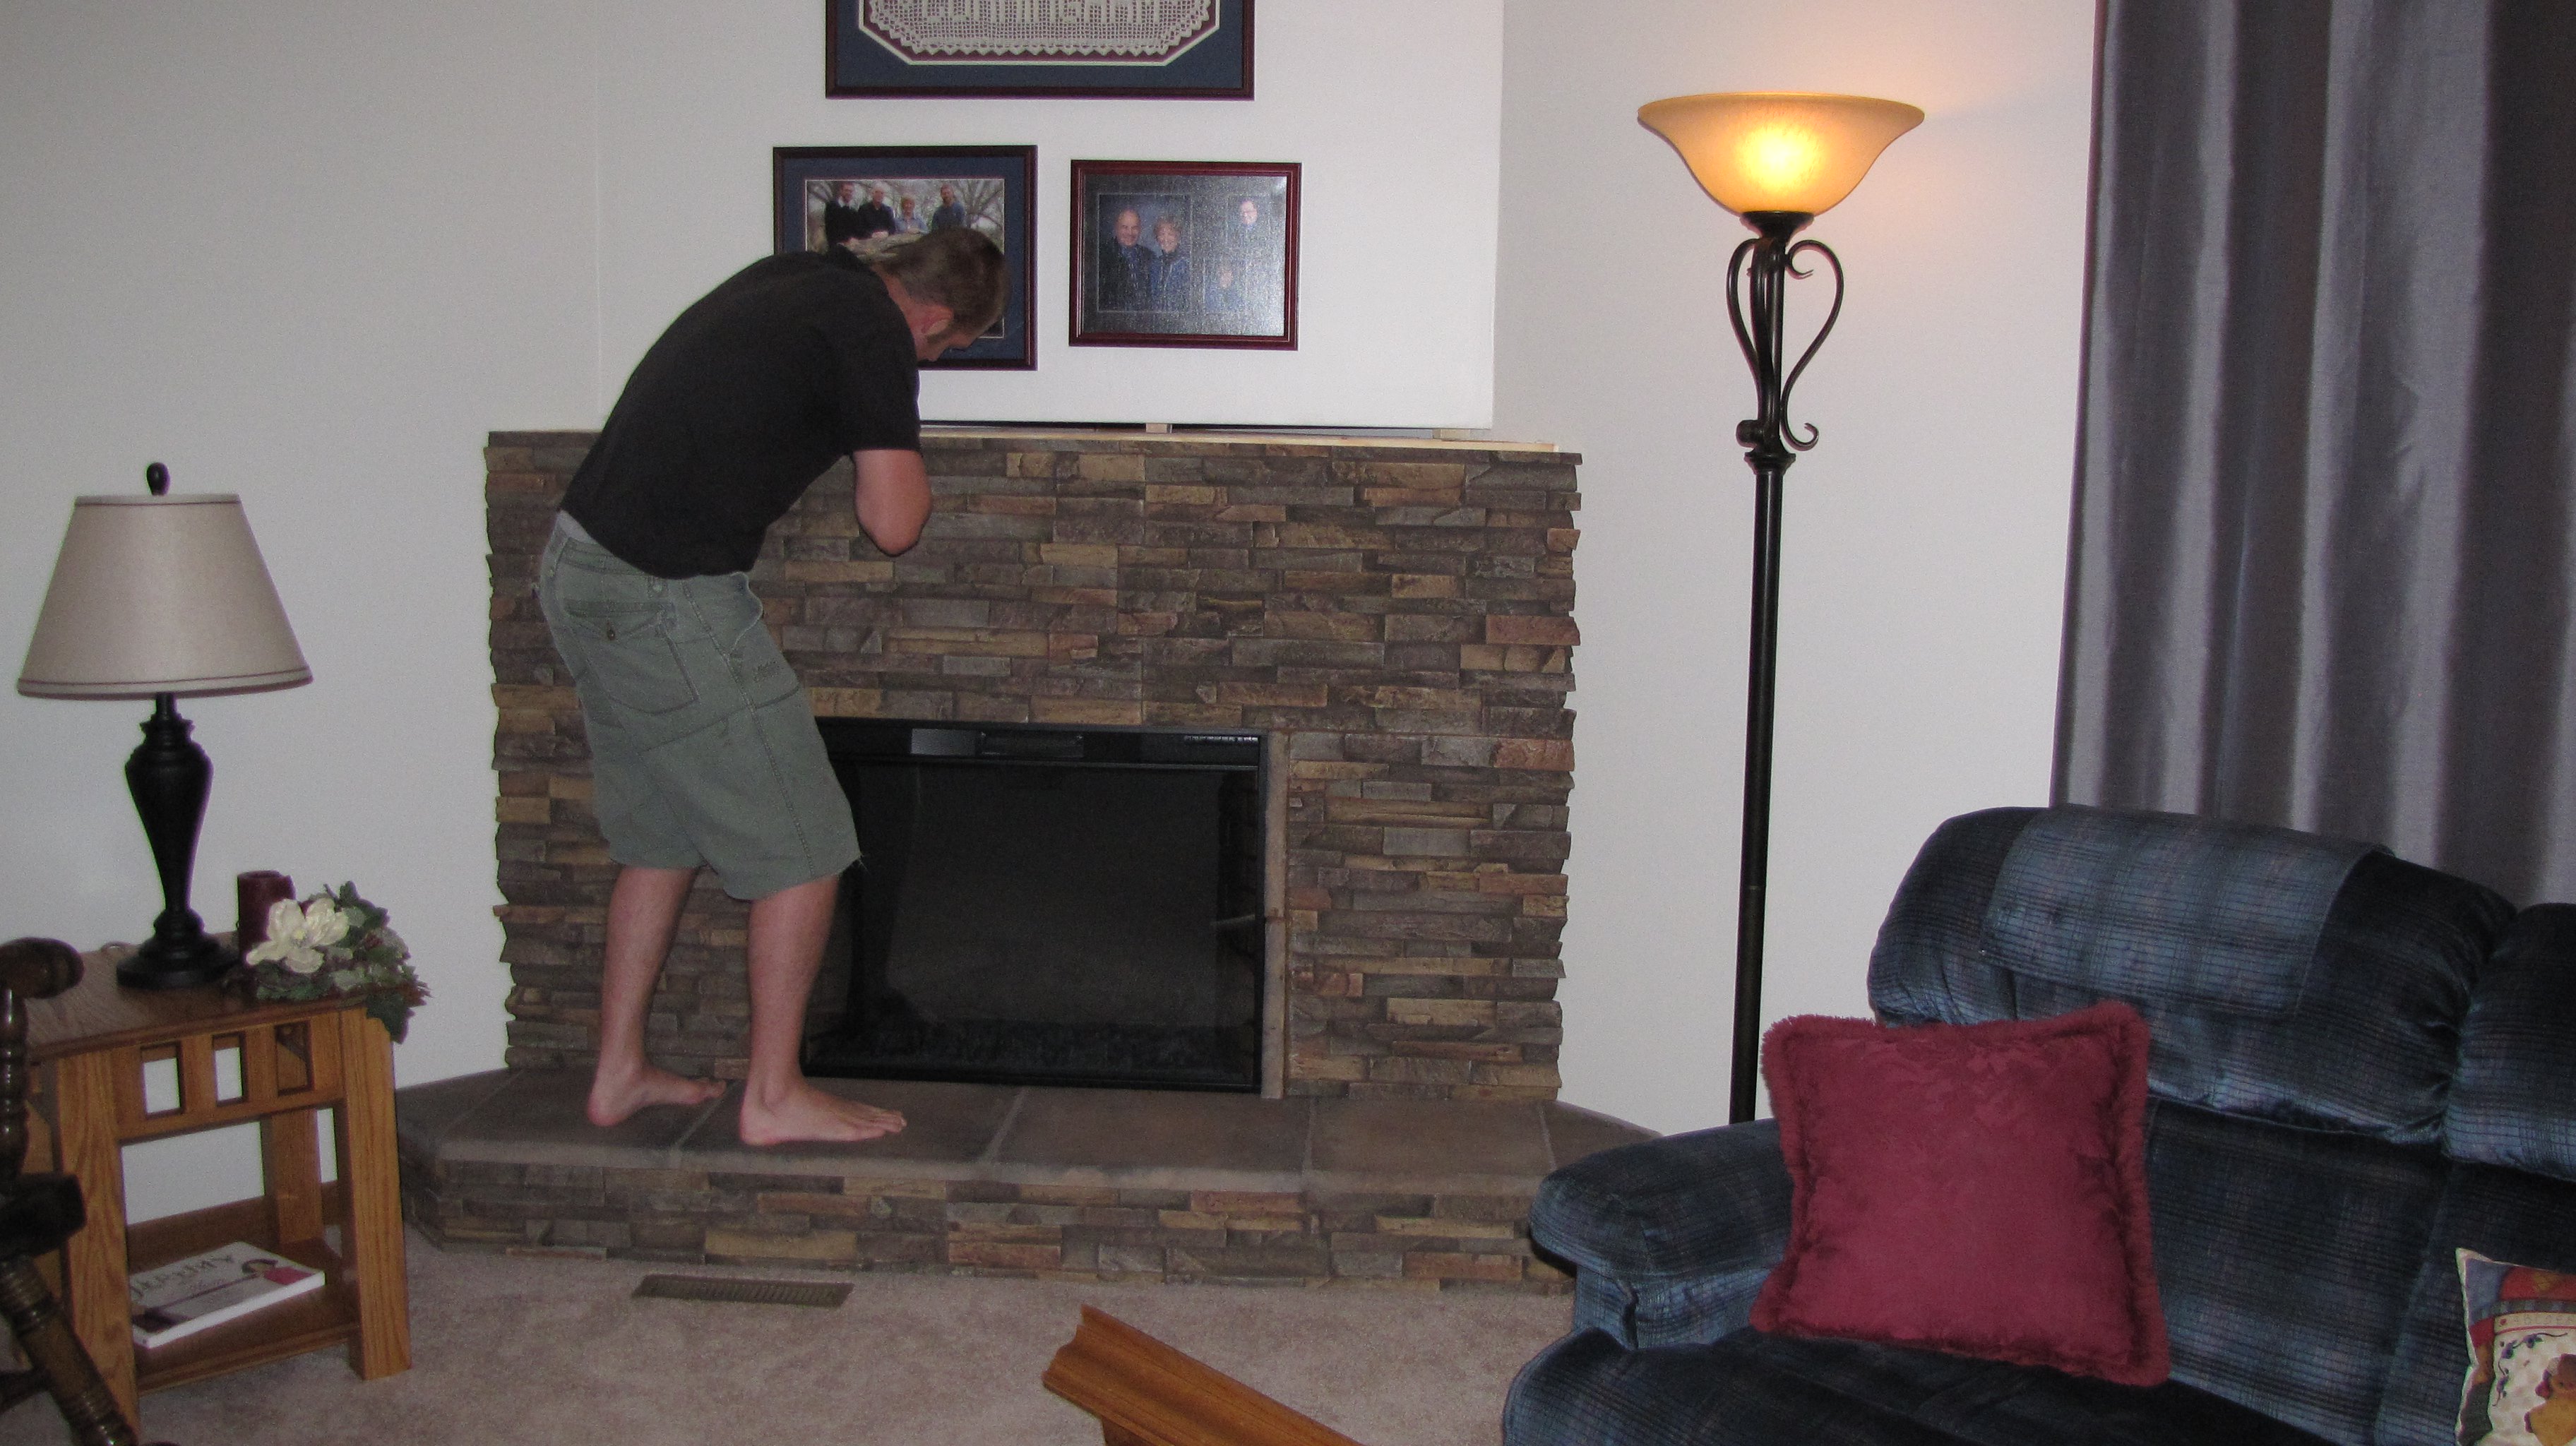 Here's Kerby latching the panel into place - simple, elegant and incredibly good looking (we're talking about the panels here, not Kerby.)
It's kind of the epitome of the most successful projects using our products - simple, smart and elegant - which is why we're very proud to share Kerby's handiwork with you.
If you've completed a similar fireplace project with faux panels, we'd love to see pictures; and learn how you installed them.
Email us at info@fauxpanels.com and maybe your design inspirations will be featured here on this blog!